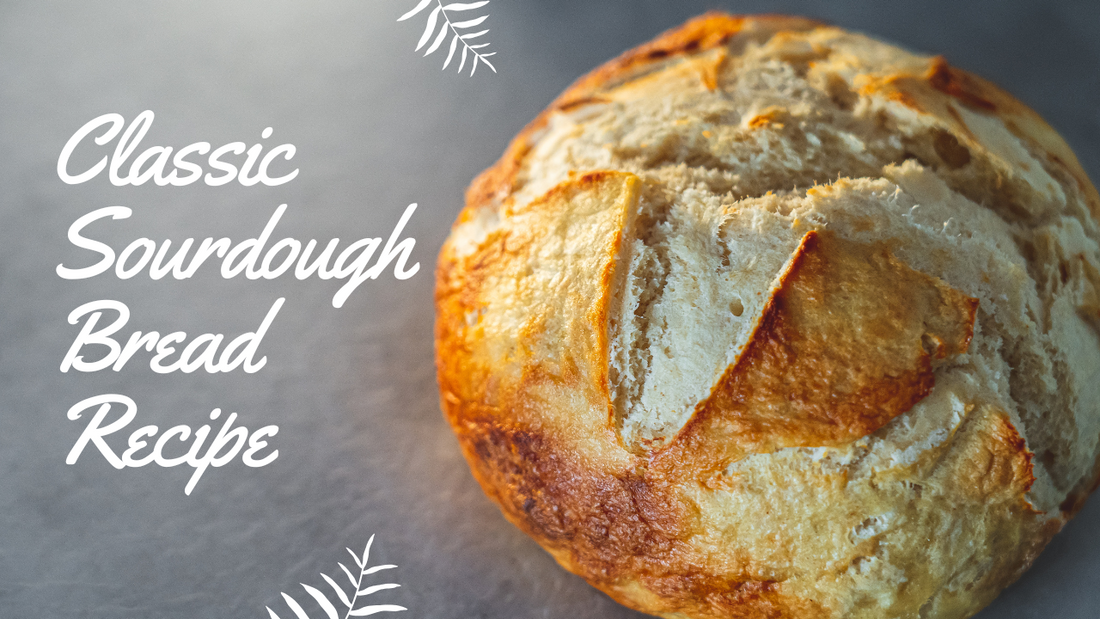
This is the kind of bread that made me fall in love with sourdough: crusty on the outside, soft and airy inside, with that signature tangy flavor.
Let’s walk through the simple step-by-step process.
🥖 Ingredients
- 400 g organic unbleached flour
- 50 g whole wheat flour
- 310 g water (filtered room temperature)
- 200 g active sourdough starter (fed and bubbly)
- 12 g salt
🕒 Timeline (Approx. 12–24 Hours)
This recipe uses a long fermentation for flavor and digestibility.
👩🍳 Instructions
- Mix the Dough
In a large bowl, combine flour, salt, starter and water. Mix with a Danish whisk until the dough is combined and shaggy. - Bulk Fermentation (First Rise)
Cover the bowl with a damp dish towel and let it rest at room temperature for 3-4 hours.
During the first 2 hours, perform four to eight stretch & folds every 30 minutes (grab one edge of the dough, stretch it up, and fold it over—rotate the bowl and repeat). This builds gluten strength. - Shape the Dough
After bulk fermentation, turn the dough onto a lightly floured surface. Shape into a round (boule) or oval (batard).
Place seam-side up in a floured proofing basket (banneton) or a bowl lined with a floured kitchen towel. - Final Proof
Cover and let the dough proof refrigerated overnight for 8–48 hours depending on when you want to bake it. - Preheat the Oven
Place a Dutch oven with lid inside your oven. Preheat to 475°F (245°C). (I put a pizza stone on the bottom rack of the oven and the Dutch oven on the rack above it. The pizza stone keeps the bottom of the bread from burning.) - Score & Bake
When the oven and pot are preheated, carefully turn the dough out onto parchment paper. Score the top with a sharp knife or lame.
Transfer into the preheated Dutch oven. Cover and bake for 25 minutes.
Remove lid and bake another 15-20 minutes until deep golden brown. - Cool
Let the loaf cool on a wire rack for at least 1 hour before slicing (it continues cooking as it cools!).
OK, I'll be honest here, it's true that it's best to wait for an hour to cut open your bread, but I just can't wait that long!!! There's nothing like fresh baked warm bread when the butters just melts right into it. YUMMMMMMM!
🌟 Results
- Crisp, blistered crust
- Soft, airy crumb with a slight tang
- Classic sourdough flavor that pairs with everything

✨ I’ve put together everything you need in one place to start baking amazing sourdough bread at home. From starter jars to proofing baskets to my favorite tools—it’s all here for you.
👉 Just click the button below to grab your sourdough essentials and begin your baking journey today!